Play Training
Add Products To Campagin
Number of Guide Steps: 5
In the dynamic world of Vision VX, the platform seamlessly guides users through the process of selecting the most pertinent products aligned with the client's industry, the campaign's overarching goal, and the allocated budget.
By default, Vision VX recommends products that are not only relevant but also optimized for achieving the specified campaign objectives and staying within the defined financial parameters.
Furthermore, both sales representatives and customers retain the flexibility to augment these recommendations by either adding the suggested products or introducing entirely new ones.

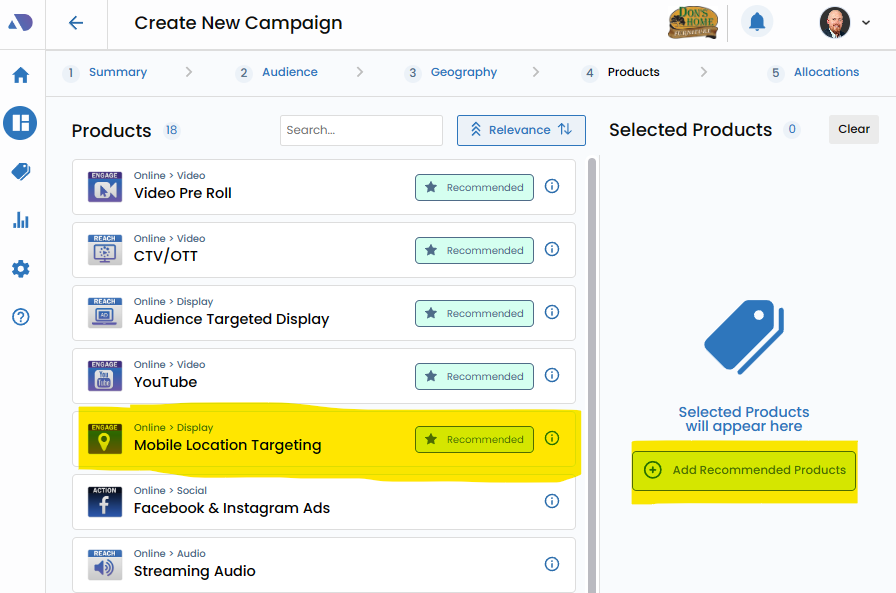
- 1. Adding Recommended Products
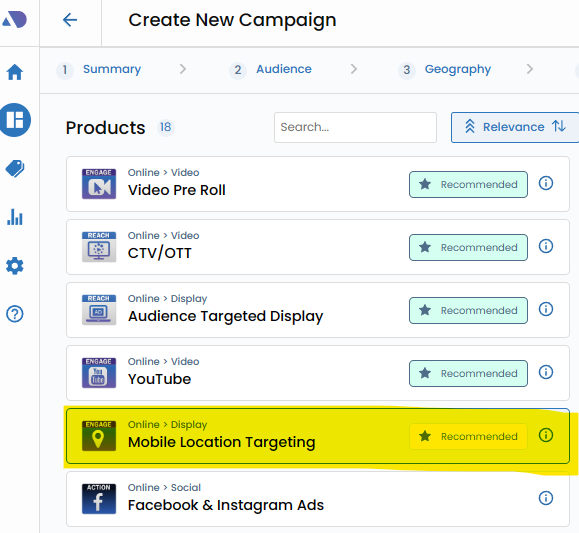
- 2. Individual Product Addition
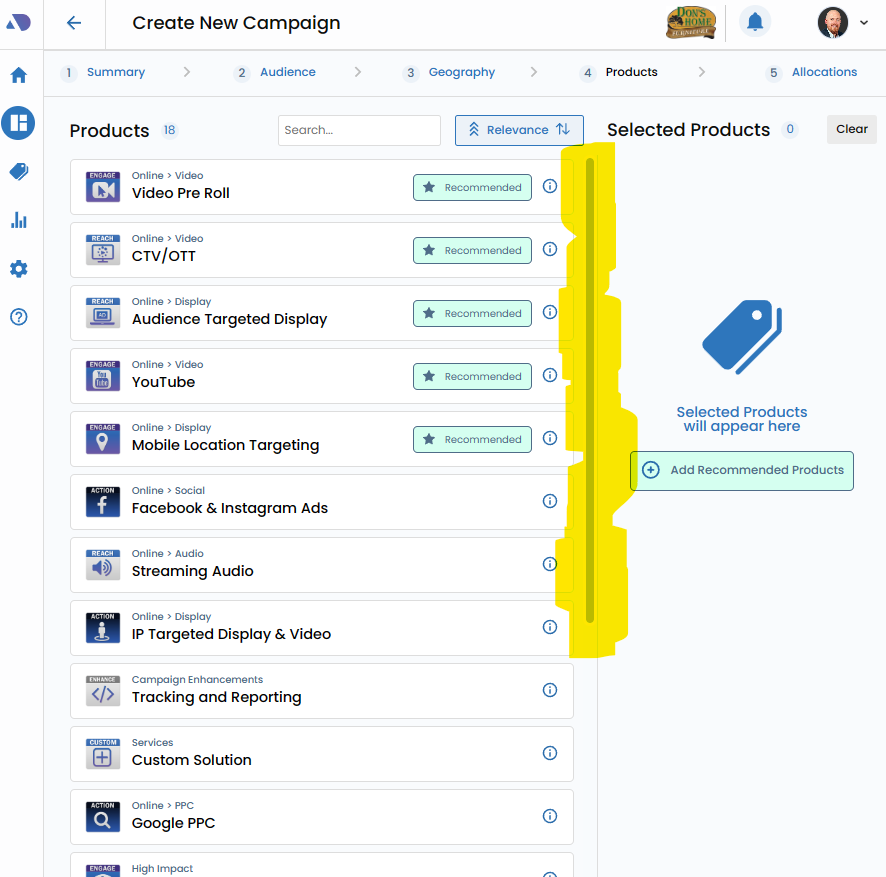
- 3. Product Discovery
- 4. View Product Information
- 5. Proceed to the Next Step
Adding Recommended Products.
Initiate the process by clicking the "Add Recommended Products" button. This feature streamlines the selection of products that are deemed highly relevant based on the client's industry, the campaign's goals, and the allocated budget.
These recommendations serve as a foundation, providing users with a curated list tailored for optimal campaign performance.

Individual Product Addition.
Alternatively, users have the freedom to add products individually by directly clicking on them.
This level of granularity allows for a personalized touch, accommodating specific preferences or considerations that may not be covered by the default recommendations.

Product Discovery.
Utilize the scroll bar to navigate through the extensive array of sellable products available for the campaign goal and budget.
This interactive exploration ensures that users have a comprehensive view of all viable product options, fostering an informed decision-making process.

View Product Information.
Click the Information Widget next to the product name will reveal additional details about the product including rates and minimums.
Rates:
The Information Widget provides clarity on the rates associated with the selected product. This includes a breakdown of pricing structures, whether they are cost-per-click (CPC), cost-per-impression (CPM), or any other relevant metrics. Understanding the rates ensures that users have a comprehensive grasp of the financial implications tied to each product.
Minimums:
For users concerned about budget constraints or aiming for a particular scale of campaign, the Information Widget reveals minimum requirements associated with the chosen product. Whether it's a minimum budget threshold, impression volume, or other criteria, this information aids users in aligning their selections with campaign goals and financial considerations.


Proceed to the Next Step.
Once satisfied with the product selections, seamlessly transition to the next phase of the campaign creation process by clicking "Next." This action not only confirms the chosen products but also propels users forward in configuring other essential elements of the campaign.